If you’re looking for a quick way to set up your Onn Roku TV and start streaming, you’re in the right place.
In this guide, we’ll take you through each step of the setup process, from mounting to initial setup, turning your Roku TV on to connecting it to the internet.
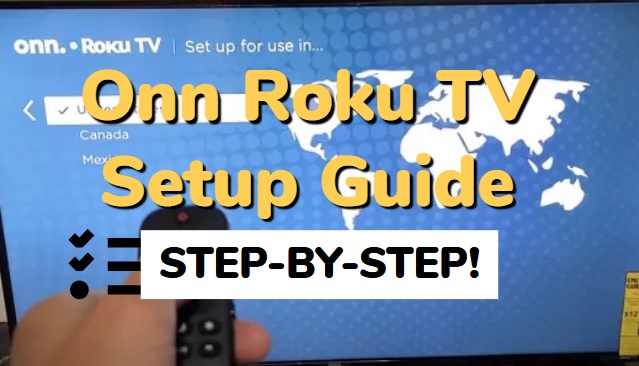
Whether you’re a tech expert or a complete newbie, you’ll be ready to enjoy your new TV by the end of this Onn Roku TV setup guide.
So let’s get started!
Onn Roku TV Setup – Complete Guide
Below is a step-by-step process to setup your new Onn Roku TV.
Step 1: Unbox the Onn Roku TV
The first step in setting up your Onn Roku TV is obviously to unbox it.
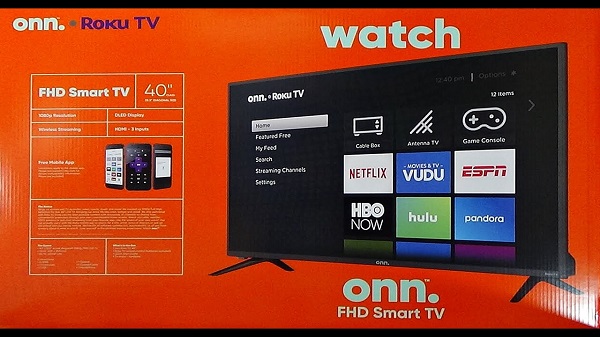
You’ll find a variety of things inside the box, the TV itself being the main thing obviously. Also included is the TV stand or wall mount, which you must set up if you intend to use it.
There is a power cord and remote control in addition to the TV and stand. The power cord is a typical three-pronged cable connecting to the wall socket and the TV’s backside. The remote control is elegant and very simple.
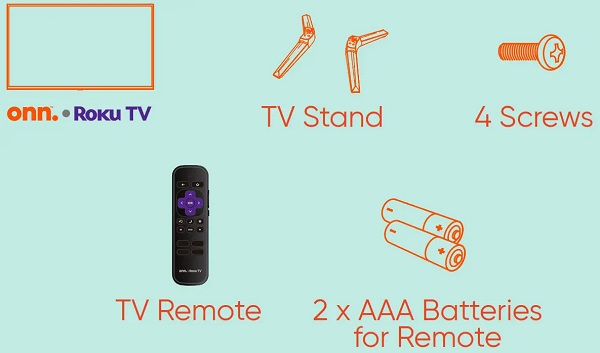
Lastly, depending on the precise Onn Roku TV model you bought, you may find more accessories in the box.
Step 2: Mount and Power on the TV
The next step in setting up your Onn Roku TV is to mount it, then power it on.
Mounting your Roku TV is easy and uncomplicated. But first, you must decide the location of the TV and the type of mount you intend to use. Depending on your preferences and the design of your area, you can select from either a wall mount or a stand.
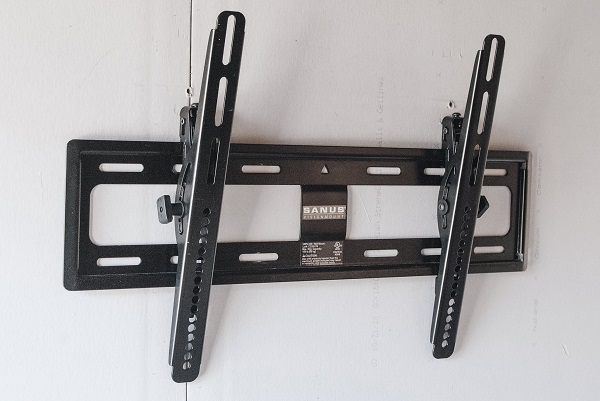
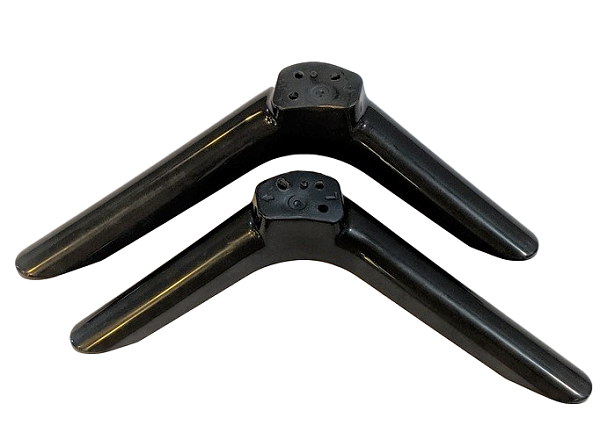
It’s time to put up the TV after your mount or stand is in place. Start by taking the TV and all of its parts out of the box. Remove the TV carefully from its packaging, then set it down on a flat surface.
Then, attach the Roku TV to the mount or stand. To keep proper placement, make sure you follow the directions that came with your particular mount or stand. Before continuing, make sure that the TV is firmly attached to the mount or stand.
Now turn your Onn Roku TV on. The box should contain a power cord you can use to connect your TV to an electrical socket. Connect the power cord’s other end to an outlet and plug the other end into the TV. Once you’ve finished, switch on the TV by pressing the power button.
Step 3: Pair your Roku TV Remote
The next step is to pair your remote after turning on your Roku TV. It only takes a few minutes to pair your remote, which is an easy process. However, the method is a bit different for a voice control remote and a simple remote. Let us explain both in detail:
For Normal TV Remote
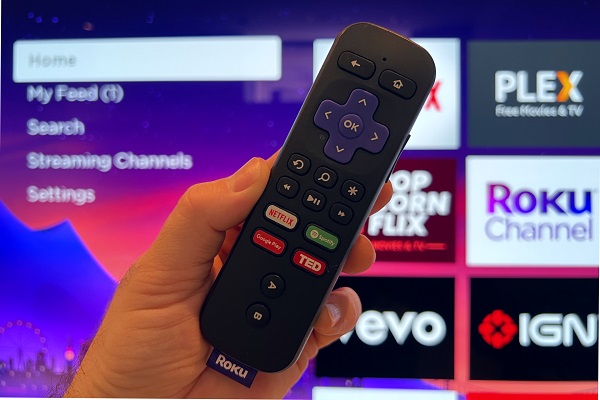
The normal remote is a common remote control that enables button-based TV control. Even though it lacks speech recognition technology, it’s still a fantastic choice for users.
The normal remote setup is a quick and easy operation that requires little time.
Here is how to do it:
- Remove the remote’s rear cover and place the TV’s original batteries inside. Ensure that the batteries are properly positioned with the correct polarities.
- The remote can be used after the batteries have been put in. To operate your Roku TV, simply aim it at the TV and click the buttons.
For Voice Control TV Remote
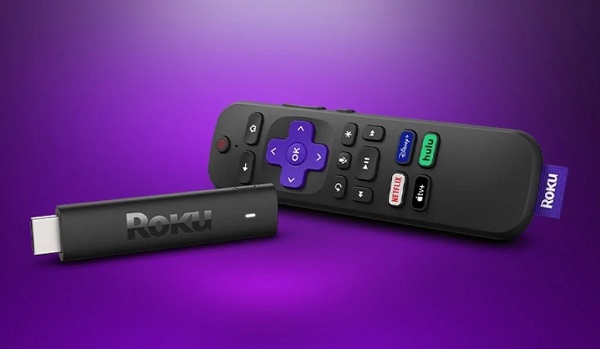
A voice control remote is another type of Onn Roku TV remote. It can be identified by a voice control button below the purple navigating buttons.
Here’s how you can pair it to your TV:
- Remove the remote’s rear cover and place the TV’s original batteries inside. Ensure that the batteries are properly placed.
- For roughly 5 seconds, or until the pairing light on the remote starts flashing, press and hold the pairing button within the battery compartment.
- Hold down the pairing button on your TV while you press and hold it until the pairing light on the TV begins to flash.
- Allow the remote and TV to pair for a little while. The remote’s pairing light will cease flashing once successfully paired.
Done! Your remote and Roku TV are now paired, and you can use it to access the on-screen menus.
Step 4: Complete the Initial Setup
To set up your TV and have access to all of the features and content that your Onn Roku TV has to offer, you must go through this process.
Here’s how to set up Onn Roku TV:
Choose Your Language: The first step is to decide the language you like. Just choose the language that feels the most natural to you from the list of available languages that will appear on the screen.
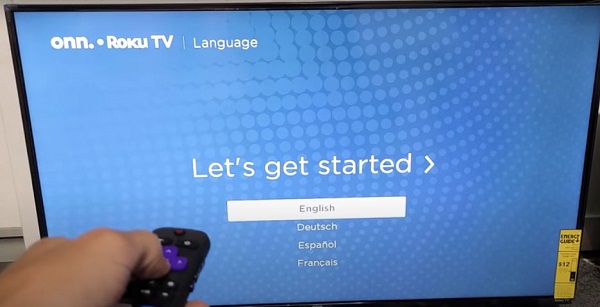
Select Your Region: The next step is to choose your region. This is crucial since it establishes which apps and content are accessible to you based on your location.
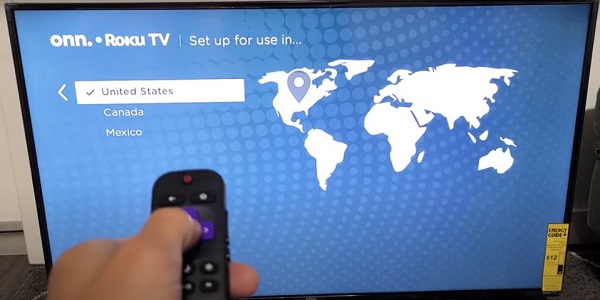
Choose “Home Use”: The final option is between “Home Use” and “Store Use”. Choose “Home Use” to set up your Roku TV for private use in your house.
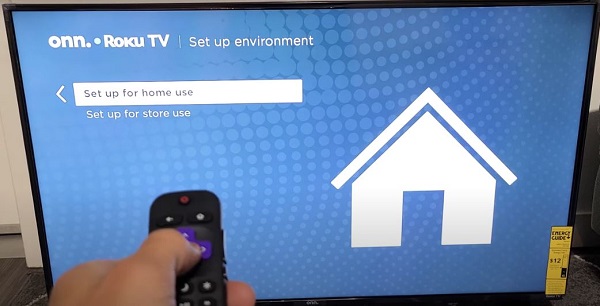
Your Roku TV is now set up and ready to use once you’ve finished these steps! Now that you know how to personalize your settings and explore the apps and channels, you can start watching your favorite TV series and films.
Step 5: Connect Roku TV to the Internet
The Roku TV can connect to the internet, giving you access to a variety of streaming services and video, which is one of its primary benefits. The following steps describe how you can link your Roku TV to the internet:
- On the setup screen, choose the connection type you prefer. A wired and wireless connection is available to access the internet with your Roku TV.
- Simply attach one end of an Ethernet cable to your TV and the other to your router or modem if you’re using a wired connection.
- Choose a wireless network from the list of available networks if you’re going for a wireless connection. You will have to input the password to connect if your network is password-protected.
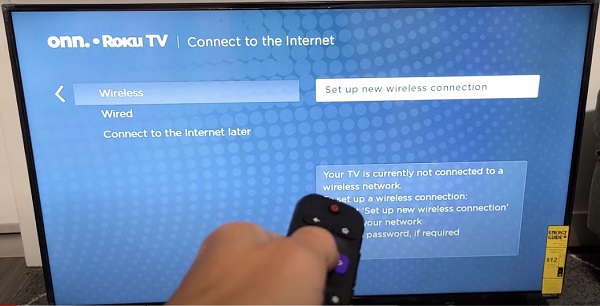
Amazing! You are now prepared to begin watching your preferred content on your Roku TV.
Step 6: Create a Roku Account
Making a Roku account is easy, and it comes with many advantages. You may activate your Roku TV, have access to the Roku Channel Shop, and sign up for different streaming services with a Roku account. The steps to create a Roku account are as follows:
- Start by visiting the Roku website (www.roku.com) on a browser using a different device.
- Click “Sign In” in the top-right corner of the screen once you’re on the Roku home page.
- You’ll be given the option to log in or create an account on the following page. To start the account creation procedure, click “Create Account”.
- Enter your information. Your first and last names, email address, and password will now be required.
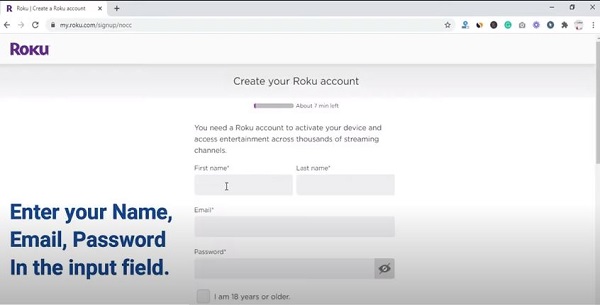
- To buy movies and TV series and subscribe to premium channels, enter the payment information into your account.
- Enter the verification code sent to your email to confirm or authenticate your account.
Easy enough? Once you’ve created your Roku account, you are allowed to access all its premium features.
Benefits of a Roku Account
The advantages of opening a Roku account include the following:
- You can only activate your Roku TV or use all of its capabilities if you have a Roku account.
- It lets you browse and download apps from the Roku Channel Store. This includes well-known streaming services like Netflix, Hulu, and Amazon Prime Video.
- Upon creating a Roku account, the streaming media player will recommend material based on your viewing habits and preferences.
- Managing payments and subscriptions are simple with a Roku account. Roku account makes it simple to buy movies and TV episodes or end a subscription if you no longer require it.
With all its wonderful features, a Roku account is a must-have if you need extra features from your brand new TV.
Step 7: Activate Roku TV
Your Roku TV will show a special activation code on the screen during the setup procedure. You must input this code on the Roku website (roku.com/link) to connect your device to your account.
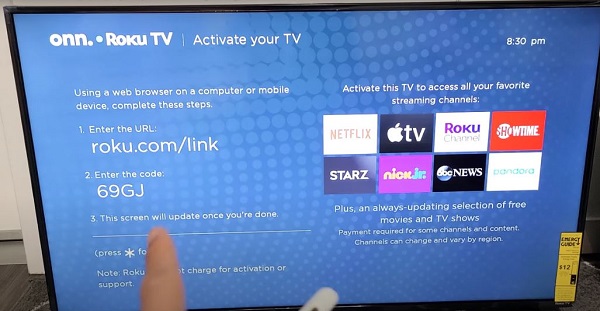
Go into your Roku account and select “Link a device.” Click “Submit” after entering the activation code that appears on your TV. Now that your Roku TV is connected to your account, you can use all the channels and services offered.
Remember that the activation code is only effective for a short period of time, so make sure you finish linking before it runs out.
Step 8: Connect Your Devices – Optional Step
You will notice that the Onn Roku TV prompts you to connect your devices once you’ve finished the initial setup. Although this step is entirely optional, having access to all of your favorite material in one location might improve your watching experience. Here is the procedure.
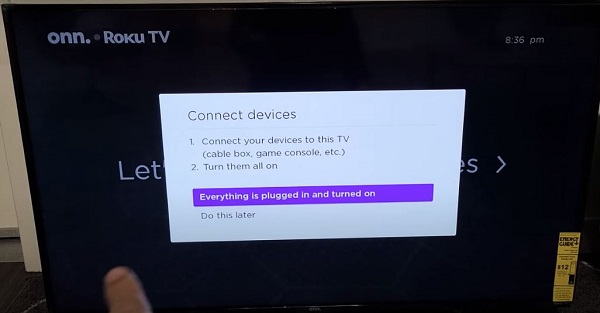
Check your device’s compatibility with your Onn Roku TV first. The majority of devices will work with a Roku TV, however, some may need a certain connection type, such as HDMI.
Then, find the relevant input port on the TV’s back. There are a number of input options available on your Onn Roku TV, including HDMI, composite, and antenna. Choose the input that is appropriate for the device type you are connecting.
Use the proper cable to connect your device to your Onn Roku TV at this point. An HDMI cable is the ideal choice for the majority of devices.
Your device needs to be operational and connected to your Onn Roku TV at this point. Now, you have easy access to all of your favorite accessories in one place.
Step 9: Update Onn Roku TV Software
The last thing we have to check is software updates. To ensure that the TV is operating properly and has the newest features and bug fixes, updating the software is a crucial step. Here’s how to update Onn Roku TV software:
Check for Updates
The first step is to see if your Roku TV software has any upgrades available. To do this, navigate to Settings from the Home screen. Choose System and then System update from there.
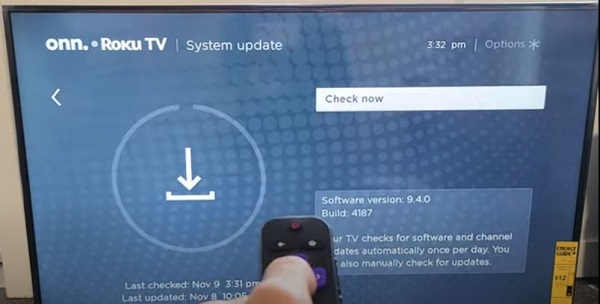
Your TV will begin downloading updates automatically if any are available. Depending on the update’s size, this procedure could take a short while or even a little longer.
Install Updates
Your TV will prompt you to install the update after downloading. Simply follow the directions on your screen to do this. As the update is installed, your TV will restart, so do not turn it off while the update is being installed. Once done, re-enter the Settings menu and choose System to see if the software update was successful.
Updating the software ensures that your TV is operating properly and has the newest features. To keep your TV up-to-date, we advise regularly checking for updates.
Bottom Line
In conclusion, setting up an Onn Roku TV is an easy process that anyone can do. You may easily mount and turn on your Onn TV, pair your remote, and finish the setup by following the instructions provided in this guide.
Overall, the Roku TV is a fantastic choice for anyone searching for an inexpensive and simple smart TV. You can quickly set it up and begin watching your favorite content.
So what are you still waiting for? Start the Onn Roku TV setup now to see how easy it is for yourself!
